New York has long been known for its traditional Jewish food. The delicious loaves of fresh challah bread from Zomick’s Bakery in Inwood have become a staple food for the city’s residents.
The Zomick’s Challah Bread recipe
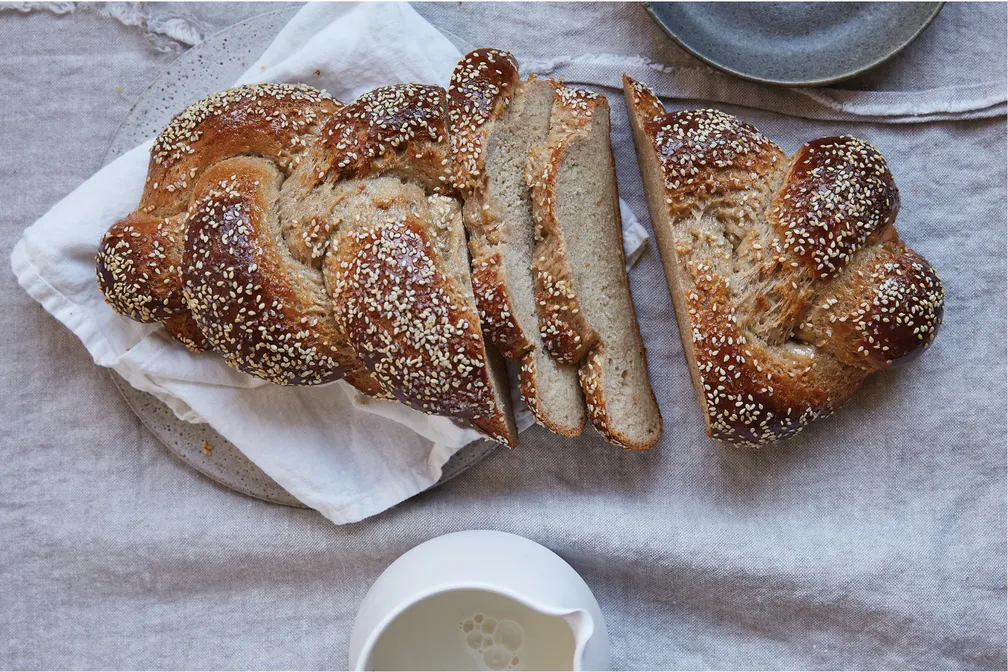
The iconic Zomick’s kosher bakery has been following the same traditional recipe since its opening back in 1966. The bakery has been using nothing but eggs, water, flour, yeast, and salt. So, what makes this fairly straightforward bread so irresistible? Well, according to Zomick’s pastry chefs, the secret lies in the right tools and a few key techniques.
If you’re struggling with getting your challah just right, read these tips offered by Zomick’s chefs. You will see if they can make a difference.
Nobody is born a great challah baker. When it comes to learning to make challah, practice makes perfect. In fact, even the best bakers had to start somewhere. I’ve made a lot of bad challahs, says David, one of Zomick’s challah bakers. Over the years I’ve made challah that wasn’t baked all the way through, that was burnt on the bottom, that was too sweet, or that had over-risen and flattened out once baked. The key is to keep trying, and experimenting. Just remember that Rome was not built in a day and that baking great bread sometimes takes a lot of practice and precision.
The Ingredients used in Zomick’s Challah Bread
Another important thing is buying high-quality flour that will make a difference in your dough. Zomick’s challah bakers recommend buying bread flour from a reputable company instead of the regular on-sale type from the market. Also, make sure you don’t put too much flour.
Challah dough can be sticky, so your natural inclination might be to keep adding flour until it’s not sticky anymore. This may result in overly dense challah once baked. Less is more, so before adding more and more flour while kneading, just add a dusting to take the stickiness out.
The secret behind Zomick’s Challah Bread’s unique taste and texture
When you have used the amount specified in the recipe, leave the dough alone, knead for 5 minutes, and then just let it rise. You want to allow your challah dough to rise for 2-3 hours for the first rise, then braid or shape it. Then allow it to rise another 30-45 minutes to ensure a light, fluffy, and not dense or doughy loaf. But be careful not to let that second rise go too long. When this happens, your dough will deflate and flatten, and the shape and consistency will not be right.
Whatever challah challenge you are working on, just remember that in the end, it will all be worth it. The joy of challah is making something warm, comforting, and steeped in tradition for you and your loved ones. And even if you don’t succeed in making a decent challah, there is always the option to buy warm, golden crust Zomick’s challah bread, any time of the day.